

Easter is just around the corner, and what better way to celebrate than by crafting a personalized Easter basket for your toddler? A DIY Easter basket adds a special touch to the holiday festivities and allows you to tailor the contents to your child’s preferences. In this step-by-step guide, we’ll walk you through the process of creating a charming DIY Easter basket that will delight your little one.
Step 1: Gather Your Supplies
Before you begin, gather all the supplies you’ll need to make your DIY Easter basket. You’ll need:
- A basket or container (you can repurpose a woven basket or choose a colorful bucket, toy bin, or even a small wagon)
- Easter grass, shredded paper, or tissue paper
- Assorted Easter goodies such as toys, books, snacks, and treats
- Decorative ribbons, bows, stickers, and embellishments
- Plastic Easter eggs for hiding treats
Step 2: Prepare Your Basket
Start by lining the bottom of your basket with Easter grass, shredded paper, or tissue paper. This will add a decorative touch and provide a cushion for the goodies you’ll be adding later.
Step 3: Fill Your Basket with Goodies
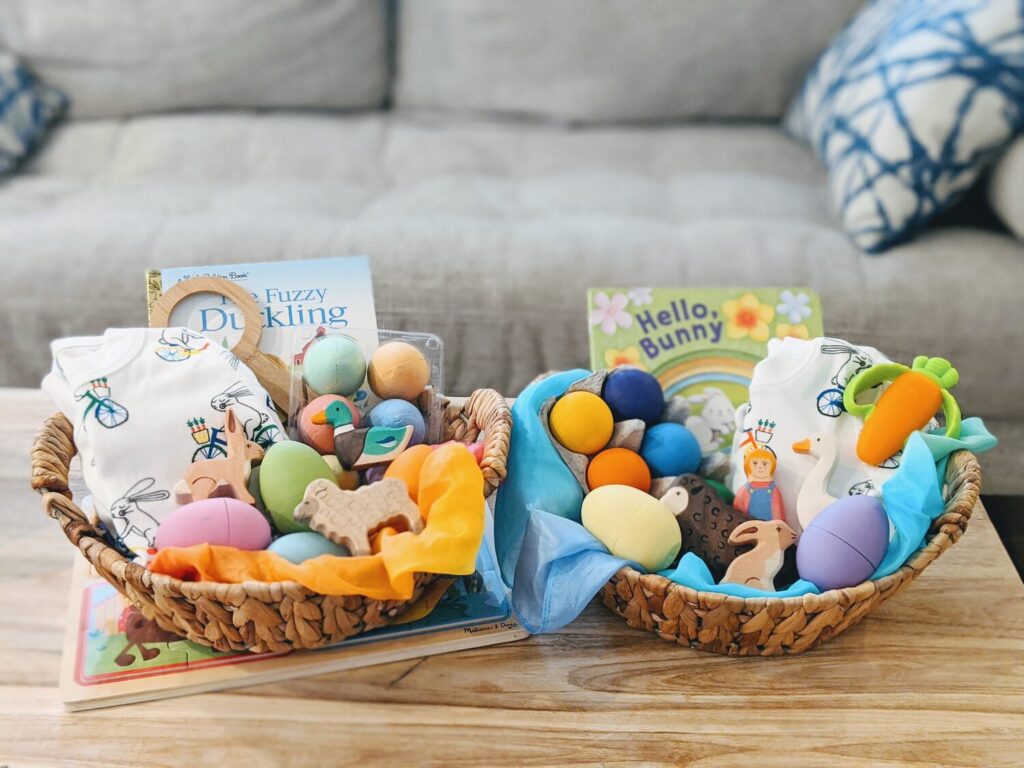
Now it’s time to fill your basket with Easter goodies! Choose a mix of treats, toys, and activities that are age-appropriate and will delight your toddler. Ideas include:
- Stuffed animals or plush toys
- Board books or interactive storybooks
- Crayons, coloring books, or sticker sets
- Puzzles or building blocks
- Small toys like cars, dolls, or figurines
- Healthy snacks such as fruit pouches, yogurt bites, or homemade trail mix
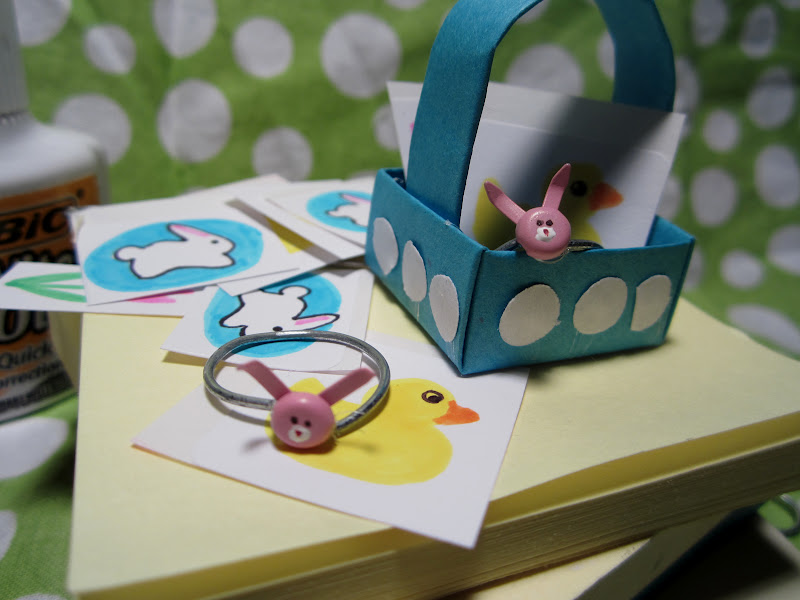
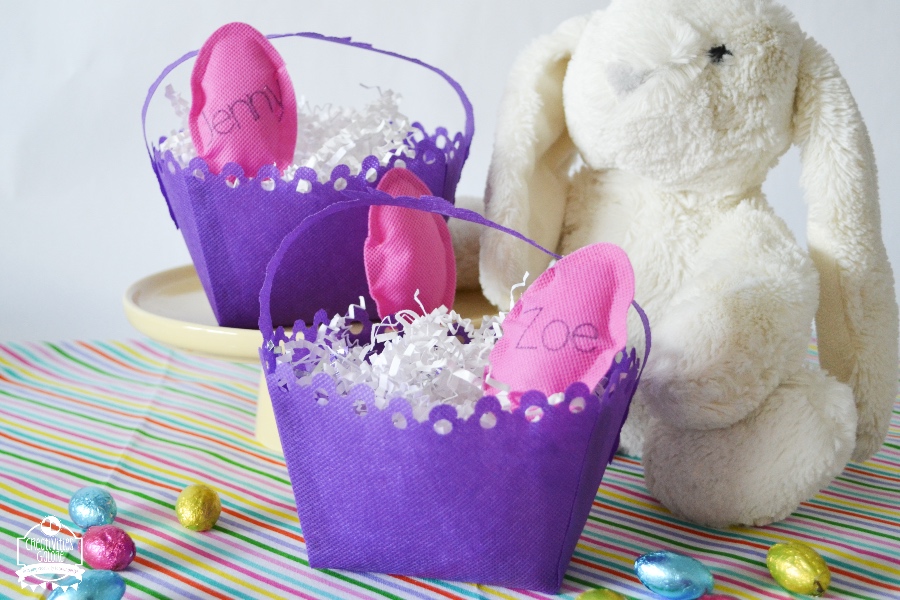
Step 4: Add Personalized Touches
To make your DIY Easter basket extra special, consider adding personalized touches such as:
- Customized name tags or monogrammed items
- Handmade decorations or embellishments
- A heartfelt note or Easter card from the Easter Bunny
- DIY crafts or artwork created by your toddler
Step 5: Arrange Your Basket
Once you’ve filled your basket with goodies and personalized touches, arrange everything neatly to create an attractive presentation. Place larger items towards the back and smaller items towards the front to ensure everything is visible.
Step 6: Hide Easter Eggs
No Easter basket is complete without Easter eggs! Fill plastic eggs with small toys, stickers, or candies, and hide them around the house or yard for an Easter egg hunt that your toddler will love.
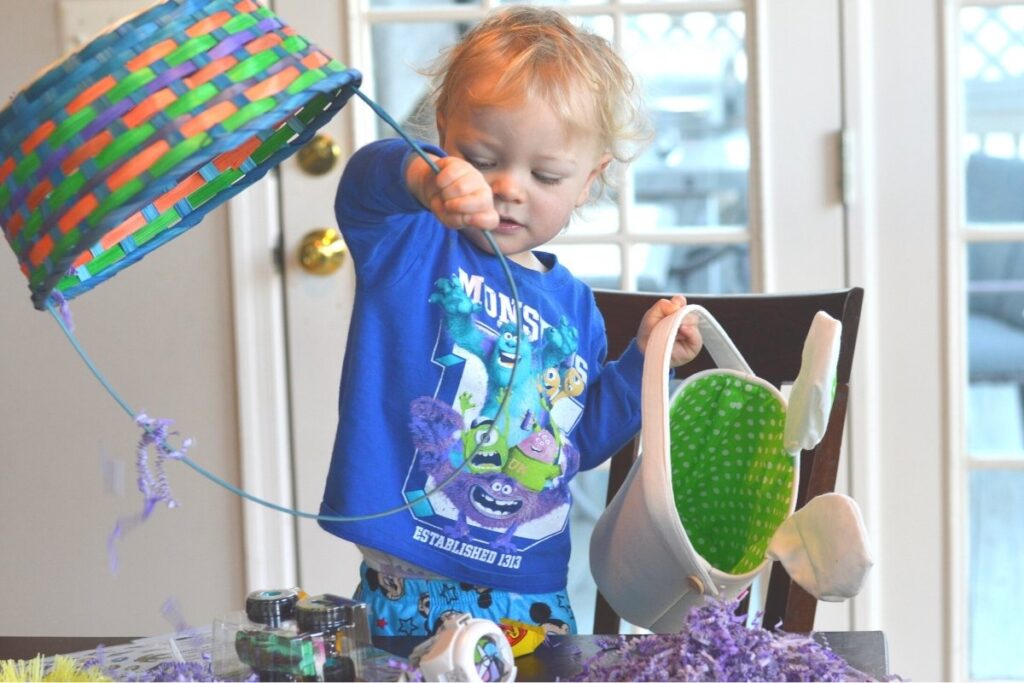
Step 7: Enjoy the Festivities
With your DIY Easter basket complete, it’s time to enjoy the holiday festivities with your toddler! Watch as they delight in discovering all the treasures hidden inside their personalized Easter basket and create cherished memories that will last a lifetime.
Conclusion
Crafting a DIY Easter basket for your toddler is a fun and rewarding activity that adds an extra element of joy to the holiday celebrations. With these simple steps, you can create a personalized Easter basket that reflects your child’s interests and brings smiles to their faces. So gather your supplies, unleash your creativity, and get ready to make this Easter extra special for your little one with a homemade Easter basket they’ll love!
About Us
Our mission is to provide a trusted and comprehensive resource hub where individuals can find inspiration, guidance, and practical tools to better themselves. Through our carefully curated content, we aim to address various aspects of personal development, including self-confidence, motivation, mindset, relationships, productivity, and overall well-being. Awaken the Champ is reader-supported. When you buy through links on our site, we may earn an affiliate commission.